Mastering the Art of Definition for Round Faces
Posted on December 28, 2023 Written by: 100% PURE ®
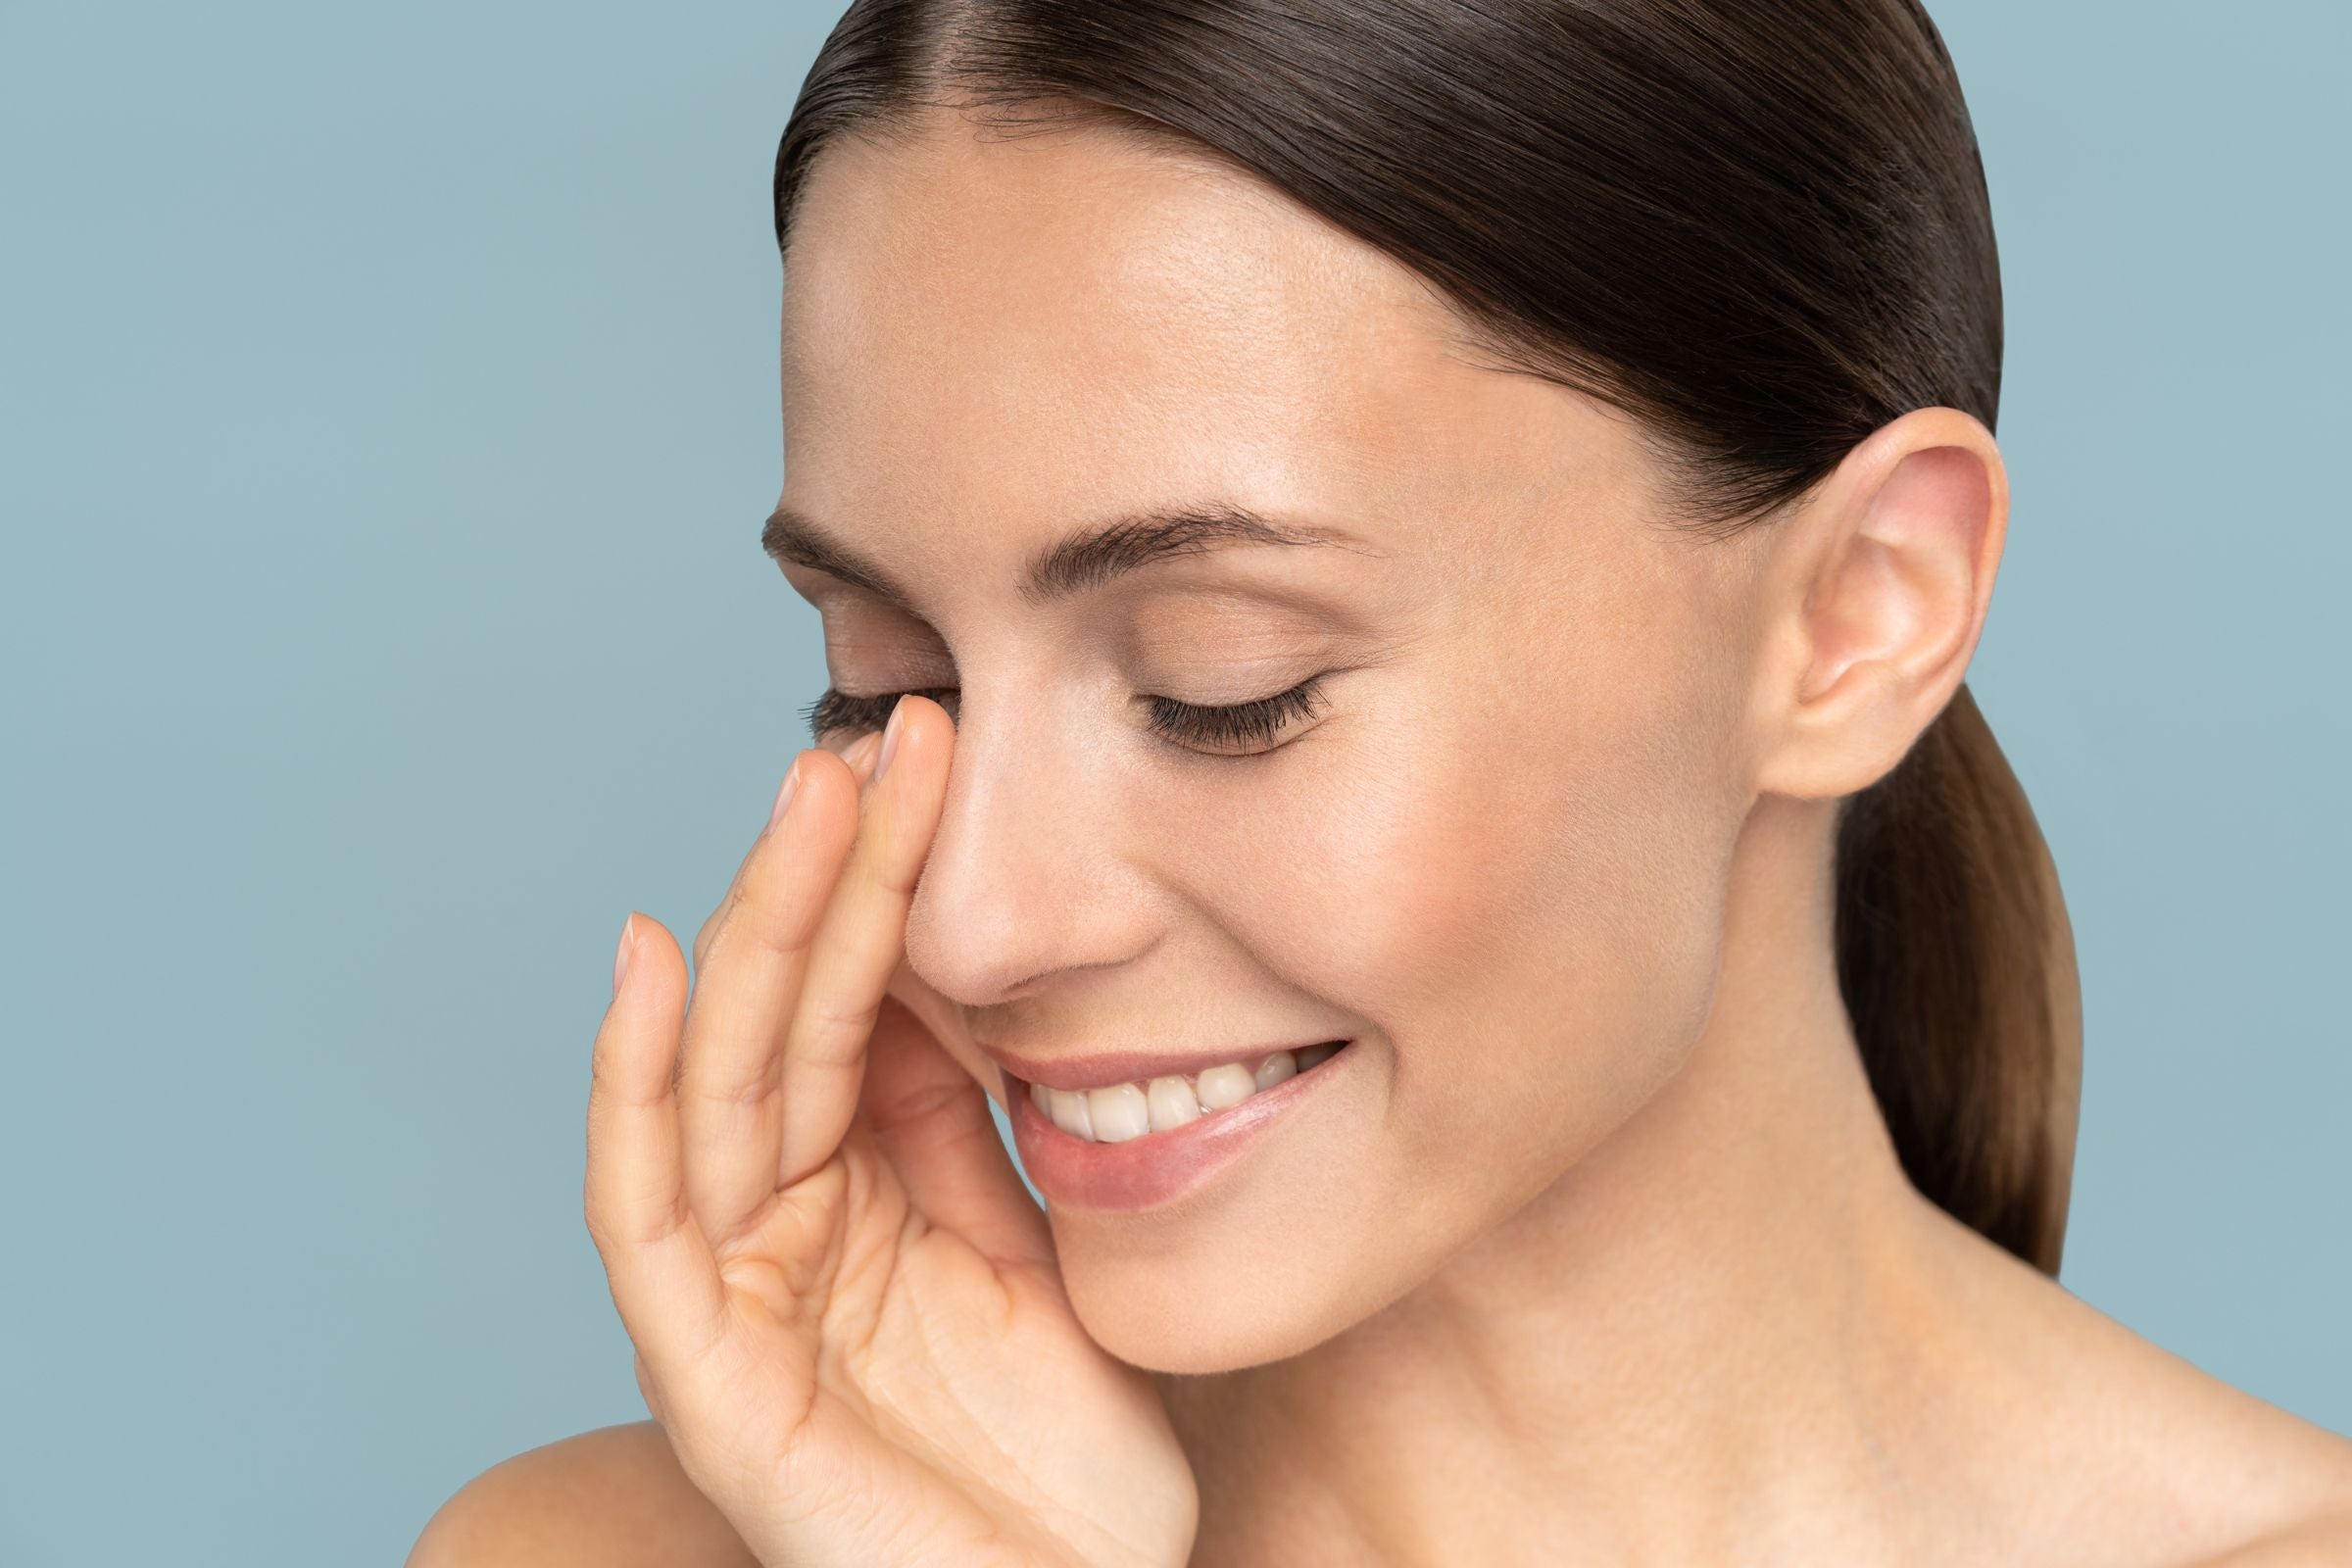
In the enchanting world of makeup, contouring and highlighting stand as twin pillars of transformation, offering the power to sculpt, define, and enhance our natural features. This magic becomes even more significant when we talk about round face shapes, where these techniques unfold their true potential.
Round faces, characterized by their soft, circular outlines and gentle curves, often lack the sharp angles and defined lines found in other face shapes. This is where the art of contouring and highlighting steps in, not just as a makeup routine, but as a creative tool to subtly reshape and bring out the best in these cherubic features.
The goal of this blog is not just to guide you through the steps of contouring and highlighting, but to empower you with the knowledge to use these techniques to their fullest. Here, we aim to transform the way you perceive makeup – from mere color application to a form of art that accentuates your natural beauty. Whether you're a makeup enthusiast or a novice, this guide is designed to help you master the art of contouring and highlighting specifically for a round face, ensuring that each stroke of your brush adds a new dimension to your look.
Stay with us as we embark on this journey of beauty and self-expression, tailored to celebrate and enhance the charm of round face shapes with contouring and highlighting.
Identifying a Round Face Shape
When it comes to makeup and contouring, understanding your face shape is crucial. A round face shape is characterized by its soft, circular form. The width and length of a round face are roughly equal, creating a charming, youthful look. Key features of a round face include a rounded forehead and jawline, both of which are typically wide and prominent. The cheekbones are not particularly pronounced, and the face's outline resembles a perfect circle.
To determine if you have a round face, observe the following:
- Symmetry: Check if the width of your face is about the same as its length.
- Jawline: Examine whether your jawline is soft and lacks sharp angles.
- Forehead: Notice if your forehead is wide and rounded at the top.
- Cheekbones: See if your cheekbones are subtly defined and blend seamlessly into the face's circular contour.
The Role of Contouring and Highlighting
Contouring and highlighting are powerful techniques in makeup, allowing you to sculpt and define your face's natural structure. For those with a round face, these techniques can be particularly transformative, creating the illusion of a more sculpted and angular face.
- Contouring: This involves using a makeup product that is a few shades darker than your natural skin tone to create shadows. By applying contour along the temples, under the cheekbones, and along the jawline, you can visually slim down and elongate a round face. The key is to blend the product well to avoid harsh lines, creating a natural shadow that gives your face more definition.
- Highlighting: In contrast, highlighting uses lighter shades to accentuate and bring forward certain areas of the face. For a round face, highlighting the center of the forehead, the bridge of the nose, the under-eye area, and the chin can help balance the face's proportions. This technique draws attention to the center of the face and adds dimension, making the face appear more structured.
By mastering these techniques, individuals with round face shapes can enhance their natural beauty, creating a harmonious balance between softness and definition. Remember, the goal is to celebrate your face's natural shape while experimenting with the transformative power of makeup.
Choosing the Right Products
Contouring and highlighting are makeup techniques that enhance facial features, creating depth and highlighting the face's natural structure. The products used in these techniques come in various forms, such as creams, powders, and sticks. Selecting the right products depends on skin type, desired finish, and the level of expertise in application. Below are some key products that can be used for contouring and highlighting:
-
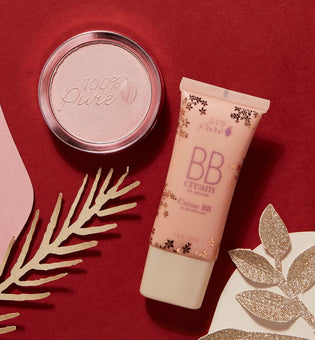
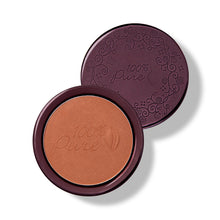
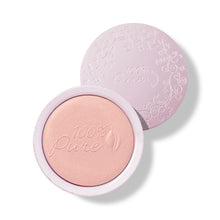
Cocoa Pigmented Bronzer
What It Is: This natural bronzer uses pigments from cocoa, coffee, tomato, and berries to impart a warm, sun-kissed glow. Infused with light-reflective gemstones and minerals, it offers subtle shimmer while nourishing the skin with concentrated vitamins and antioxidants.How to Use: Apply the bronzer with a brush to areas where the sun naturally hits the face: upper forehead, hairline, cheekbones, and bridge of nose. It can also be used under the jawline for contouring.
-
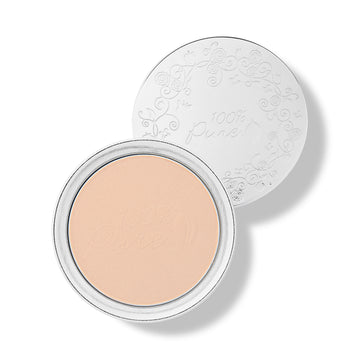
Fruit Pigmented® Powder Foundation
What It Is: A lightweight powder foundation that provides a soft, flawless complexion without drying out the skin. Packed with vitamins and antioxidants from fruit extracts, it offers anti-aging benefits and mattifying properties.How to Use: Buff and blend the powder foundation into the skin, starting at the center of the face and working outwards. It can also be used over liquid or cream foundation.
-
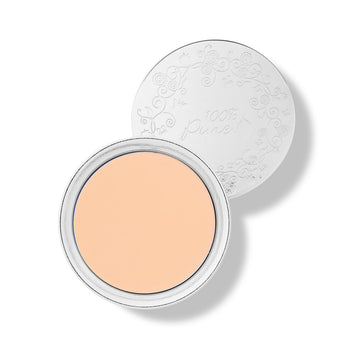
Fruit Pigmented® Cream Foundation
What It Is: A nourishing cream foundation offering medium to full coverage. It includes pigment from antioxidant-rich fruit and cocoa beans, alongside avocado butter and rice powder for a satin finish.How to Use: Dot onto the face and blend outwards for a seamless satin finish. For full coverage, apply a second layer.
-
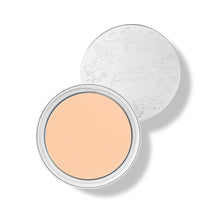
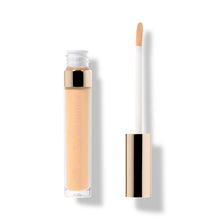
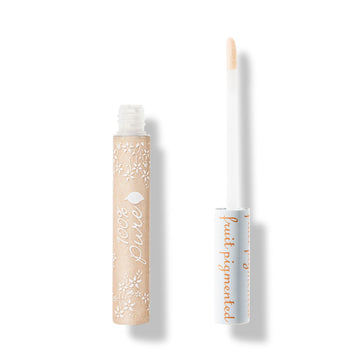
Fruit Pigmented® 2nd Skin Concealer
What It Is: A silky concealer colored with fruit pigments, offering blendable and buildable coverage.How to Use: Apply directly onto the skin or back of the hand and blend with a brush or pat gently with a finger.
-
Fruit Pigmented® Gemmed Luminizer
What It Is: Powder highlighters with light-reflecting minerals and gemstones for a radiant glow.How to Use: Apply to the highest points of the cheeks, bridge of the nose, cupid's bow, and other areas for added glow.
-
Luminating Creme
What It Is: A multitasking liquid highlighter with natural shimmer, providing a smooth, incandescent glow.How to Use: Dot or streak on high points of the face and blend with fingers.
Makeup Brushes and Tools
For precise application of these products, specific brushes and tools are recommended: -
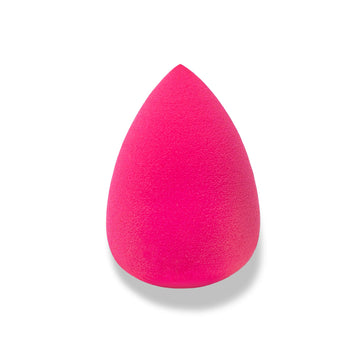
Non-Latex Makeup Blender
What It Is: A natural makeup sponge ideal for applying cream and liquid formulas.How to Use: Saturate with water, squeeze out excess, and use a bouncing motion for application.
-
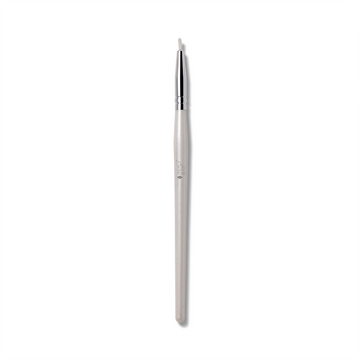
Cruelty-Free Eye Liner Brush #6
What It Is: A vegan, cruelty-free brush perfect for precise eye makeup applications.How to Use: Can be used wet or dry with powder or gel liner for detailed eye makeup.
These tools and products, when used correctly, can dramatically enhance facial features, offering a professional and polished look.
Mapping Out Contour Lines
When it comes to contouring a round face, the key is to create an illusion of shadows and depth, thereby enhancing your natural features. This technique helps in defining the face and giving it a more sculpted appearance. Here's how to map out contour lines effectively:
- Cheeks: Start by sucking in your cheeks to find the natural hollows. This is where you'll apply your contour. For a round face, you want to apply the contour in a diagonal line, starting from your ears and tapering down towards the corners of your mouth. Be careful not to bring the contour too close to the mouth; stopping midway is ideal.
- Jawline: Defining the jawline is crucial for round faces. Apply your contour along the jawline, starting from just below the ears to the chin. This creates a shadow effect that gives the illusion of a more defined jaw.
- Forehead: Round faces often have a wider forehead. To create a more balanced look, apply contour along the temples and the upper forehead, close to the hairline. This technique helps in narrowing the forehead visually.
Blending for a Natural Look
Now that you've mapped out your contour lines, blending them seamlessly is essential for a natural and sculpted look. Here are some tips:
- Use the Right Tools: A dense, angled brush or a beauty sponge works best for blending contour. Ensure your tools are clean to avoid patchy application.
- Blend Upwards: When blending the contour on your cheeks, use upward strokes. This not only helps in blending the product but also lifts the face visually.
- Soft Circular Motions: For the jawline and forehead, use soft circular motions. This helps in diffusing the contour seamlessly into your foundation, avoiding any harsh lines.
- Light Hand: Always use a light hand while blending. It's easier to build up product than to remove excess.
- Check Different Lighting: Once you think you've blended enough, check your makeup in different lighting conditions. What looks perfect in your bathroom mirror might look different in natural light.
- Set with Powder: If you're using a cream or liquid contour, set it with a translucent powder to ensure it stays in place throughout the day.
By following these contouring and blending techniques, you can masterfully sculpt your round face, accentuating your best features and creating a beautifully defined look. Remember, practice makes perfect, so don't be afraid to experiment and find what works best for your unique face shape.
Newsletter Subscribe
for more blog updates and exclusive discounts
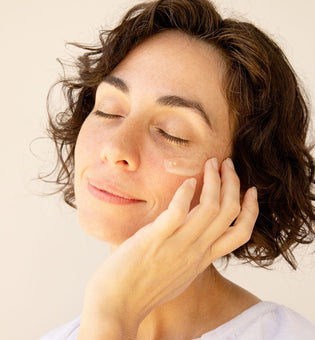
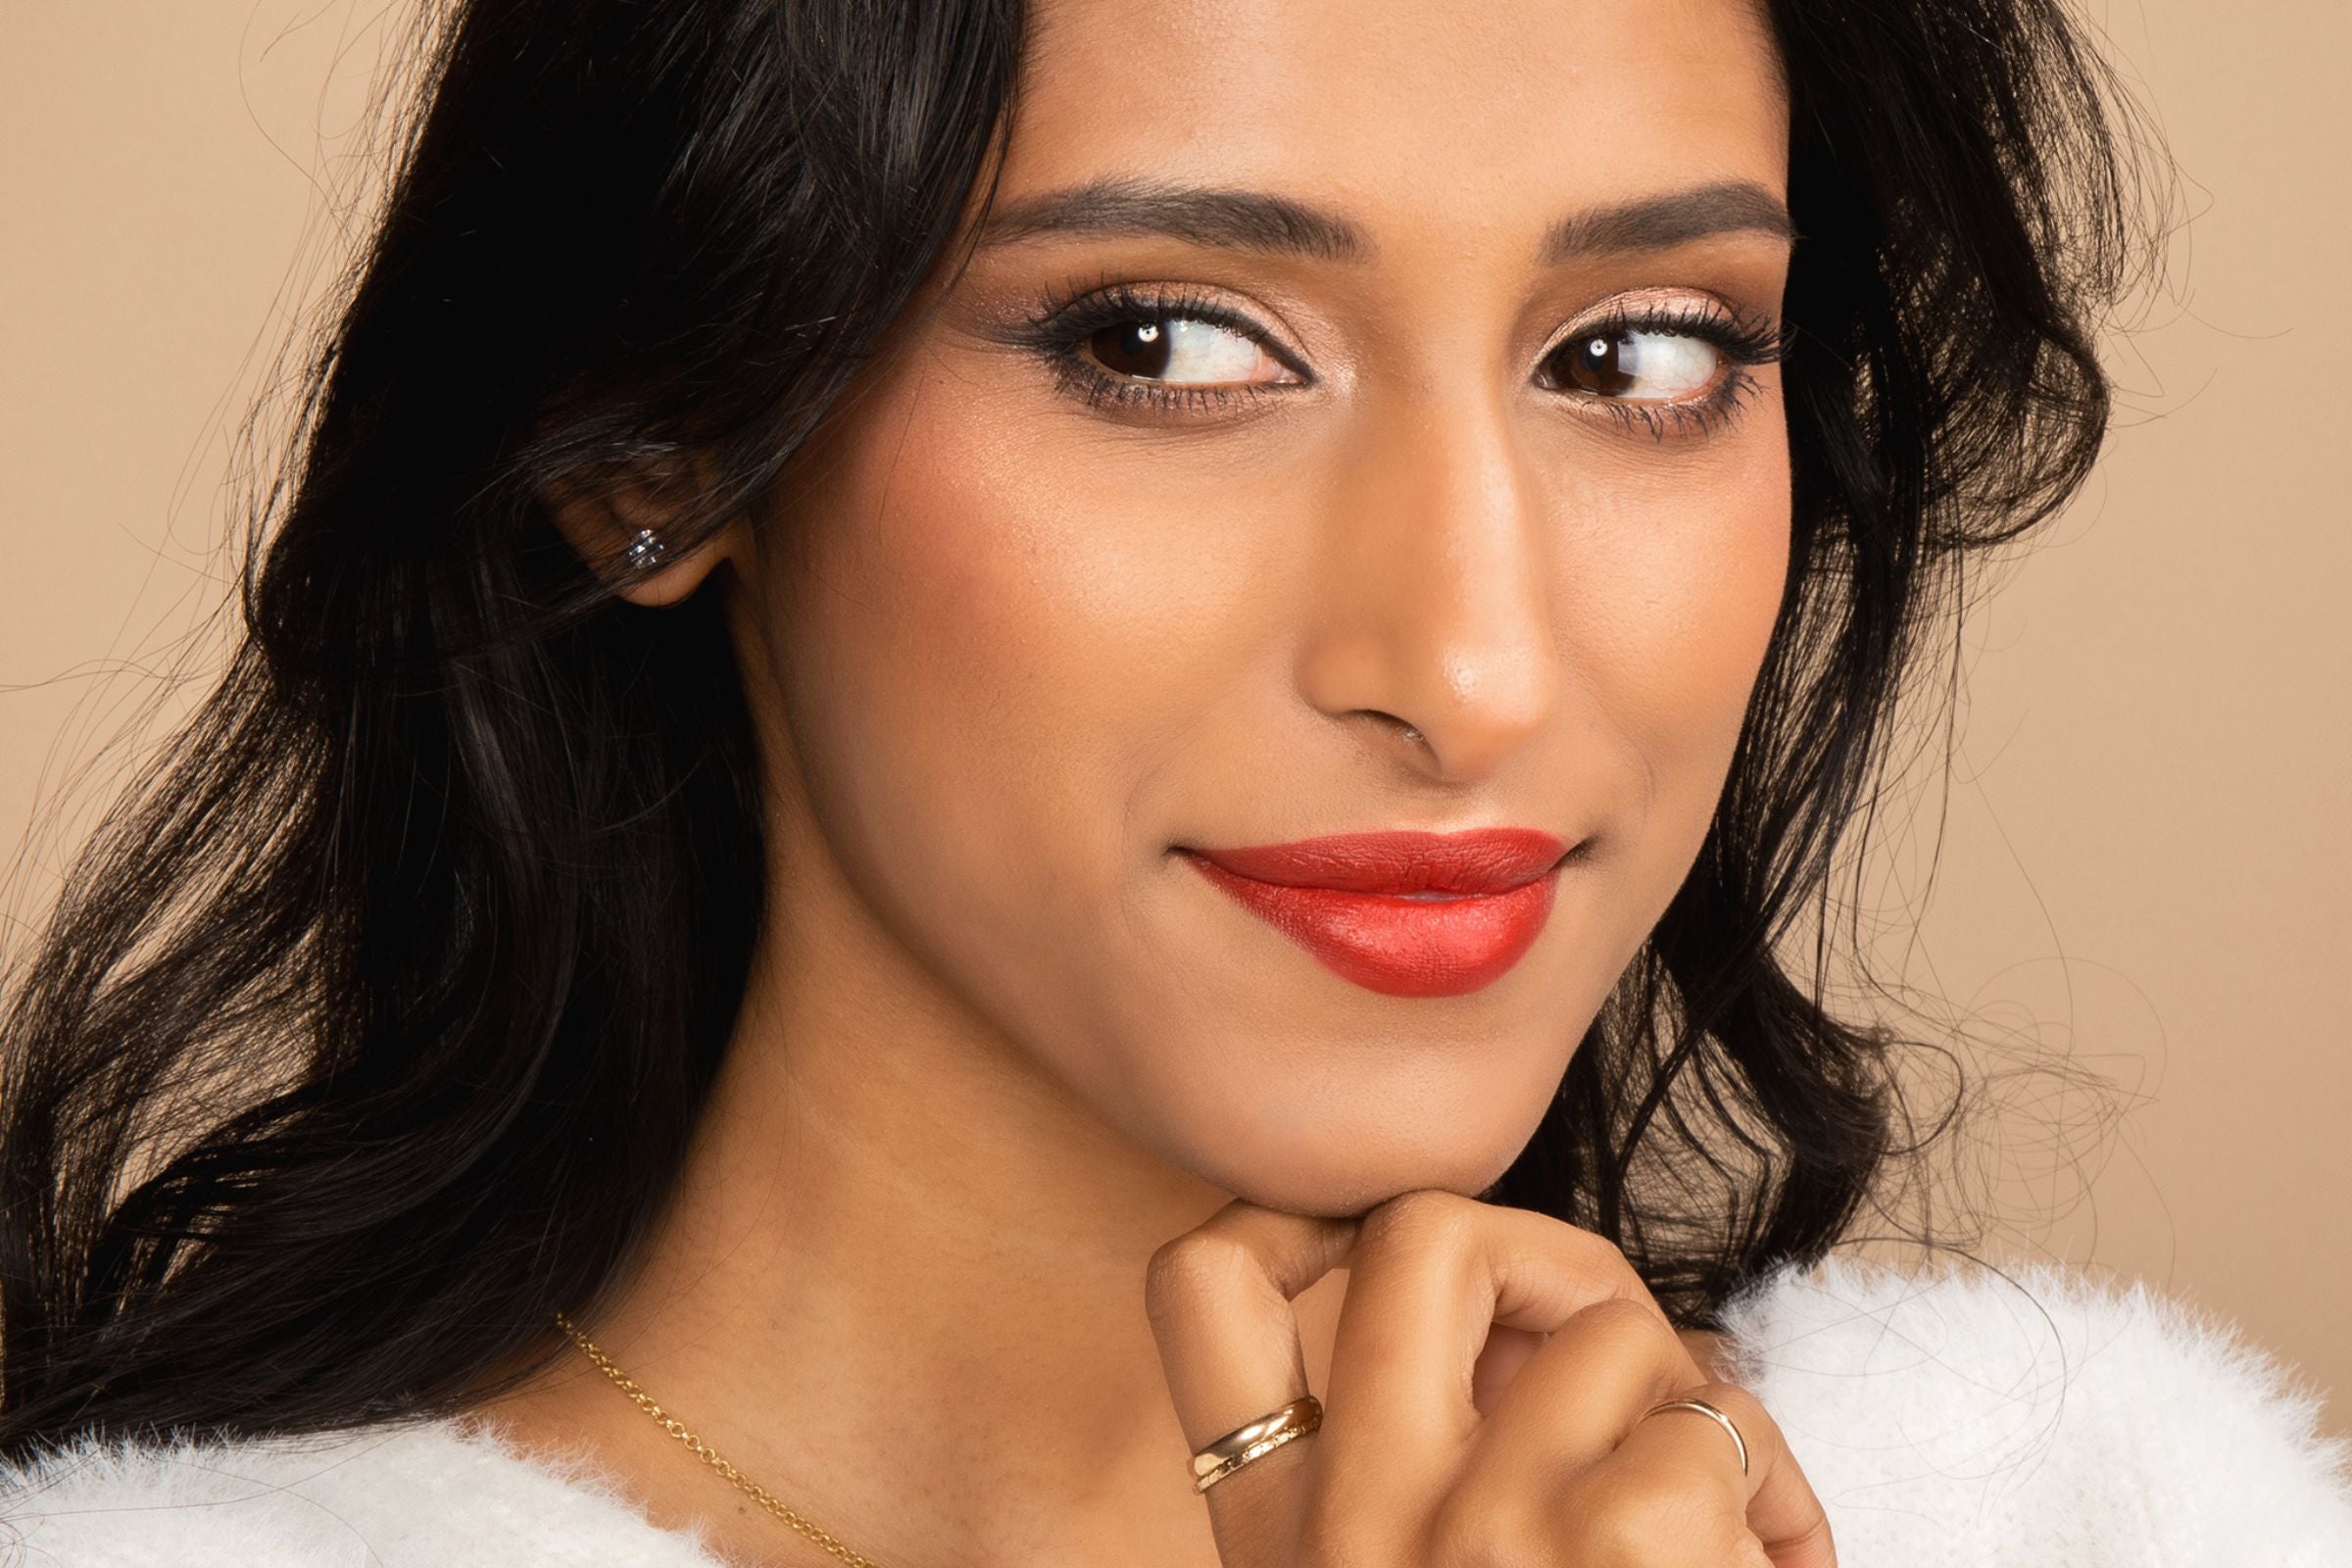
Strategic Highlighting
Highlighting is a crucial technique in makeup artistry, especially for those with round faces. It’s not just about applying a shimmery product to your face; it's a strategic art that enhances your natural features. When done correctly, highlighting can create an illusion of depth and structure, which is particularly beneficial for round faces.
The key areas to focus on are the cheekbones, brow bones, and the center of the forehead. By applying highlighter to these areas, you create points of interest that draw attention to your best features.
- Cheekbones: This is the most critical area for those with round faces. Applying highlighter just above your cheekbones can give the illusion of a more sculpted face. It reflects light, making your cheekbones appear higher and more defined.
- Brow Bones: Highlighting just beneath the arch of your eyebrows on the brow bone can lift your eyes. This not only accentuates your eyes but also helps in giving a structured appearance to the face.
- Center of the Forehead: A subtle touch of highlighter in the center of your forehead can create a dimensional effect. It draws the eye upwards, elongating the face and reducing the roundness.
Avoiding Common Highlighting Mistakes
While highlighting can be transformative, it's important to avoid common errors:
Over-application: This is a common mistake. Overdoing it can make your face appear shiny and oily, rather than sculpted and radiant. Use a light hand and build up gradually.
Wrong Shade: Using a highlighter that is too light or too dark for your skin tone can ruin the effect. Choose a shade that is slightly lighter than your skin tone for a natural glow.
Ignoring Your Face Shape: Not all highlighting techniques work for every face shape. For round faces, avoid highlighting the sides of your face. This can make your face appear wider. Stick to the central and upper areas of the face.
Blending: Proper blending is essential. Harsh lines or unblended highlighter can look unnatural. Blend softly to create a seamless transition between your highlighter and your base makeup.
By mastering these techniques and avoiding these pitfalls, you can skillfully use highlighting to accentuate your round face, creating a look that is both flattering and radiant.
Can Contouring and Highlighting Suit All Skin Types?
Absolutely! Contouring and highlighting are versatile techniques that can be adapted to suit all skin types. Whether you have dry, oily, combination, or sensitive skin, you can contour and highlight effectively with the right products. For oily skin, it's advisable to use oil-free and matte products. Those with dry skin should look for cream-based products that provide hydration. If you have sensitive skin, opt for hypoallergenic and fragrance-free options.
How Do I Choose the Right Shades for My Skin Tone?
Choosing the right shades for your skin tone is crucial for a natural-looking contour and highlight. For contouring, select a shade that is about two shades darker than your skin tone and has a cool or neutral undertone to mimic natural shadows. For highlighting, choose a shade that is one to two shades lighter than your skin tone. If you have a warm undertone, go for gold or peach highlights. For cool undertones, pink or silver highlights work best.
What’s the Best Way to Contour for Everyday Wear?
For everyday wear, the key is subtlety. Use a light hand and build up the product gradually. Stick to matte bronzers or contour powders for a more natural look. Focus on areas like the hollows of your cheeks, the sides of your nose, and your jawline. Blend thoroughly to avoid harsh lines. For a more natural effect, use a little contouring under your chin and around your temples.
Can I Use Bronzer for Contouring a Round Face?
Yes, you can use bronzer for contouring a round face, but with caution. Choose a bronzer that is not too warm or shimmery, as it can make your face look muddy instead of sculpted. Apply it lightly in the areas where you would normally contour, like under your cheekbones, along your jawline, and around the edges of your face. Remember, the goal is to create shadow and dimension, not to tan the skin.
How Can I Make My Contouring and Highlighting Last All Day?
To ensure your contouring and highlighting last all day, start with a good primer to create a smooth base. Use setting powder to set your cream-based products, and consider using a setting spray as a final step to lock everything in place. Additionally, for oily skin types, using blotting papers throughout the day can help maintain your look without smudging your makeup.
As we reach the end of our exploration into the transformative world of contouring and highlighting for round faces, it's crucial to reflect on the key takeaways that can elevate your makeup artistry. The journey through various techniques and product selections has underscored the importance of personalization in the realm of beauty.
The Importance of Technique: Remember, contouring and highlighting are not just about the products you use, but how you use them. For those with round faces, the right technique can mean the difference between a naturally sculpted look and an overdone appearance. It's about understanding the nuances of your face and using shades and highlights to bring balance and definition.
Choosing the Right Products: Equally important is the selection of products. Creams, powders, sticks, or palettes – the choices are abundant. The texture, shade, and blendability of your contour and highlight products play a pivotal role in achieving a flawless finish. Opt for shades that complement your skin tone and products that work harmoniously with your skin type.
Practice Makes Perfect: The art of contouring and highlighting is a skill honed over time. Each face is a unique canvas, with its own set of characteristics and features. Don't be disheartened if your first few attempts don't yield perfect results. Practice is key. Experiment with different techniques and products to discover what works best for your round face.
Embrace Your Unique Features: While tutorials and guides provide a great starting point, they are not one-size-fits-all solutions. Embrace your individuality. Use contouring and highlighting to enhance your natural beauty, not mask it. Celebrate your round face and use these tools to accentuate your best features.
As you embark on your contouring and highlighting journey, remember that beauty is an expression of self. It's about feeling confident and comfortable in your skin. So, pick up those brushes, experiment with shades, and most importantly, have fun with the process. Your round face is a beautiful canvas awaiting your creative touch!
- Tags: December-2023, make up, Makeup
We carefully hand-select products based on strict purity standards, and only recommend products we feel meet this criteria. 100% PURE™ may earn a small commission for products purchased through affiliate links.
The information in this article is for educational use, and not intended to substitute professional medical advice, diagnosis, or treatment and should not be used as such.